In our previous blog post, we explored how balancing hard and soft waxes affects application, hardness, and buffability in solvent-based car waxes. We established a base formulation using carnauba wax (hard, glossy) and paraffin wax (soft, workable), settling on a 1:1 ratio as the best compromise of performance and usability.
With that foundation laid, our next step is to investigate how different solvents influence drying behaviour, haze time, surface feel, and ease of removal. Solvents are critical in car wax systems — not just for dissolving waxes but also for determining how quickly a product dries and how evenly it spreads.
Why Solvents Matter
Solvents play several roles in paste and liquid wax formulations:
- Control drying time and haze point
- Affect buffing effort and risk of streaking
- Alter solvent bite (important for cleaning or adhesion)
- Influence fragrance and user experience
A wax that dries too slowly may smear or leave a greasy finish. One that flashes too quickly might not spread evenly. Our goal here is to test several commonly used solvents side-by-side to better understand their impact.
Solvents Being Evaluated
We selected six solvents representing a range of evaporation rates and chemical behaviours. Each one is tested at both low (3 g) and high (6 g) addition levels to highlight performance differences.
| Solvent | Boiling Point (°C, approx.) | Notes |
|---|---|---|
| Isopar M | ~240 °C | Very slow drying, high gloss, soft feel |
| D60 | ~220 °C | Slow drying, refined aliphatic |
| D40 | ~180 °C | Medium-drying, standard paste wax solvent |
| D-Limonene | ~175 °C | Citrus-based, good solvency, medium flash |
| Cyclopentasiloxane | ~170 °C | Volatile silicone, dry feel, fast flash |
| Heptane | ~98 °C | Fast-drying, aggressive at higher concentrations, low residue |
How We Prepared the Samples
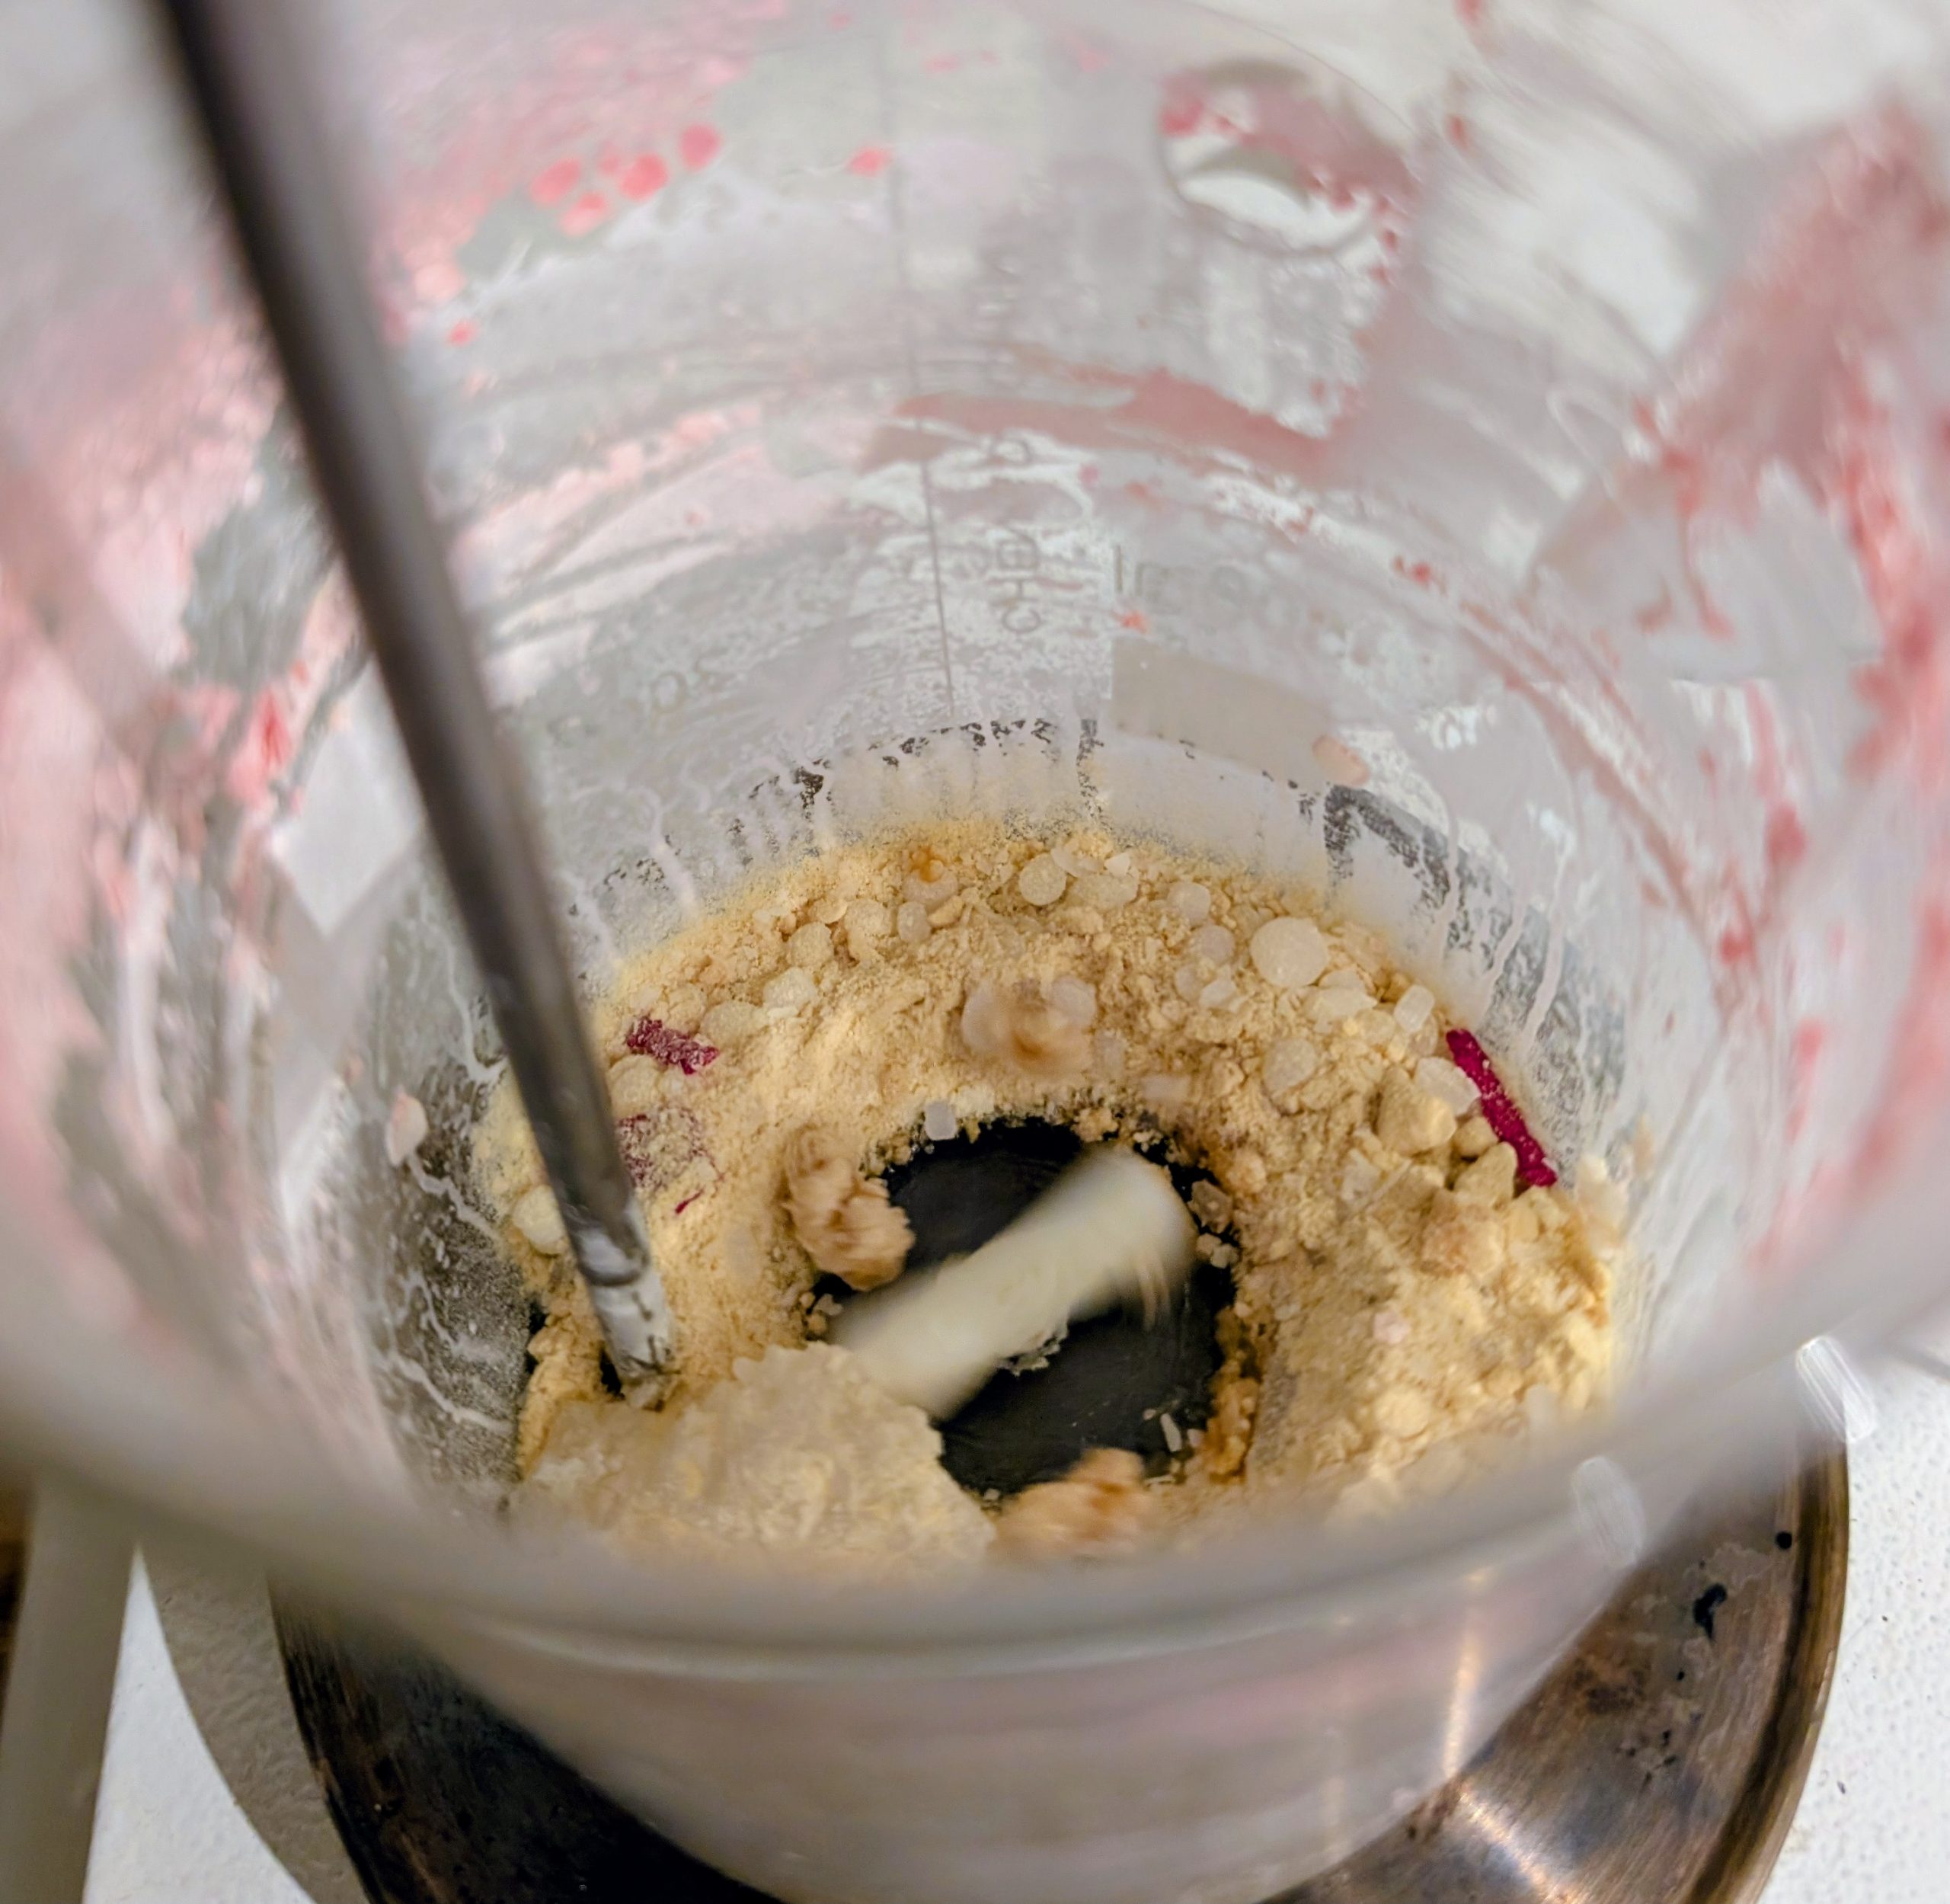
To maintain consistency, we started by combining our previously tested wax samples (A–D), ensuring we had a reliable 7.5:7.5 paraffin:carnauba base. To this, we added 15 g paraffin and 15 g carnauba wax to increase volume and re-melted the entire mixture for uniformity.
Sample Preparation Steps:
- Combine all base samples and new wax additions.
- Melt and blend thoroughly, then allow to cool and solidify into a uniform block.
- Portion into 12 × 19 g samples using a cupcake tray — ensuring consistent wax mass across all variants.
- Re-melt each individual sample in the same double boiler setup used previously.
- Add solvents:
- 6 g for high-addition samples
- 3 g + 3 g odourless kerosene for low-addition samples
- Stir thoroughly, pour, and allow to cool fully.
- Seal with clingfilm and foil to prevent evaporation and contamination.
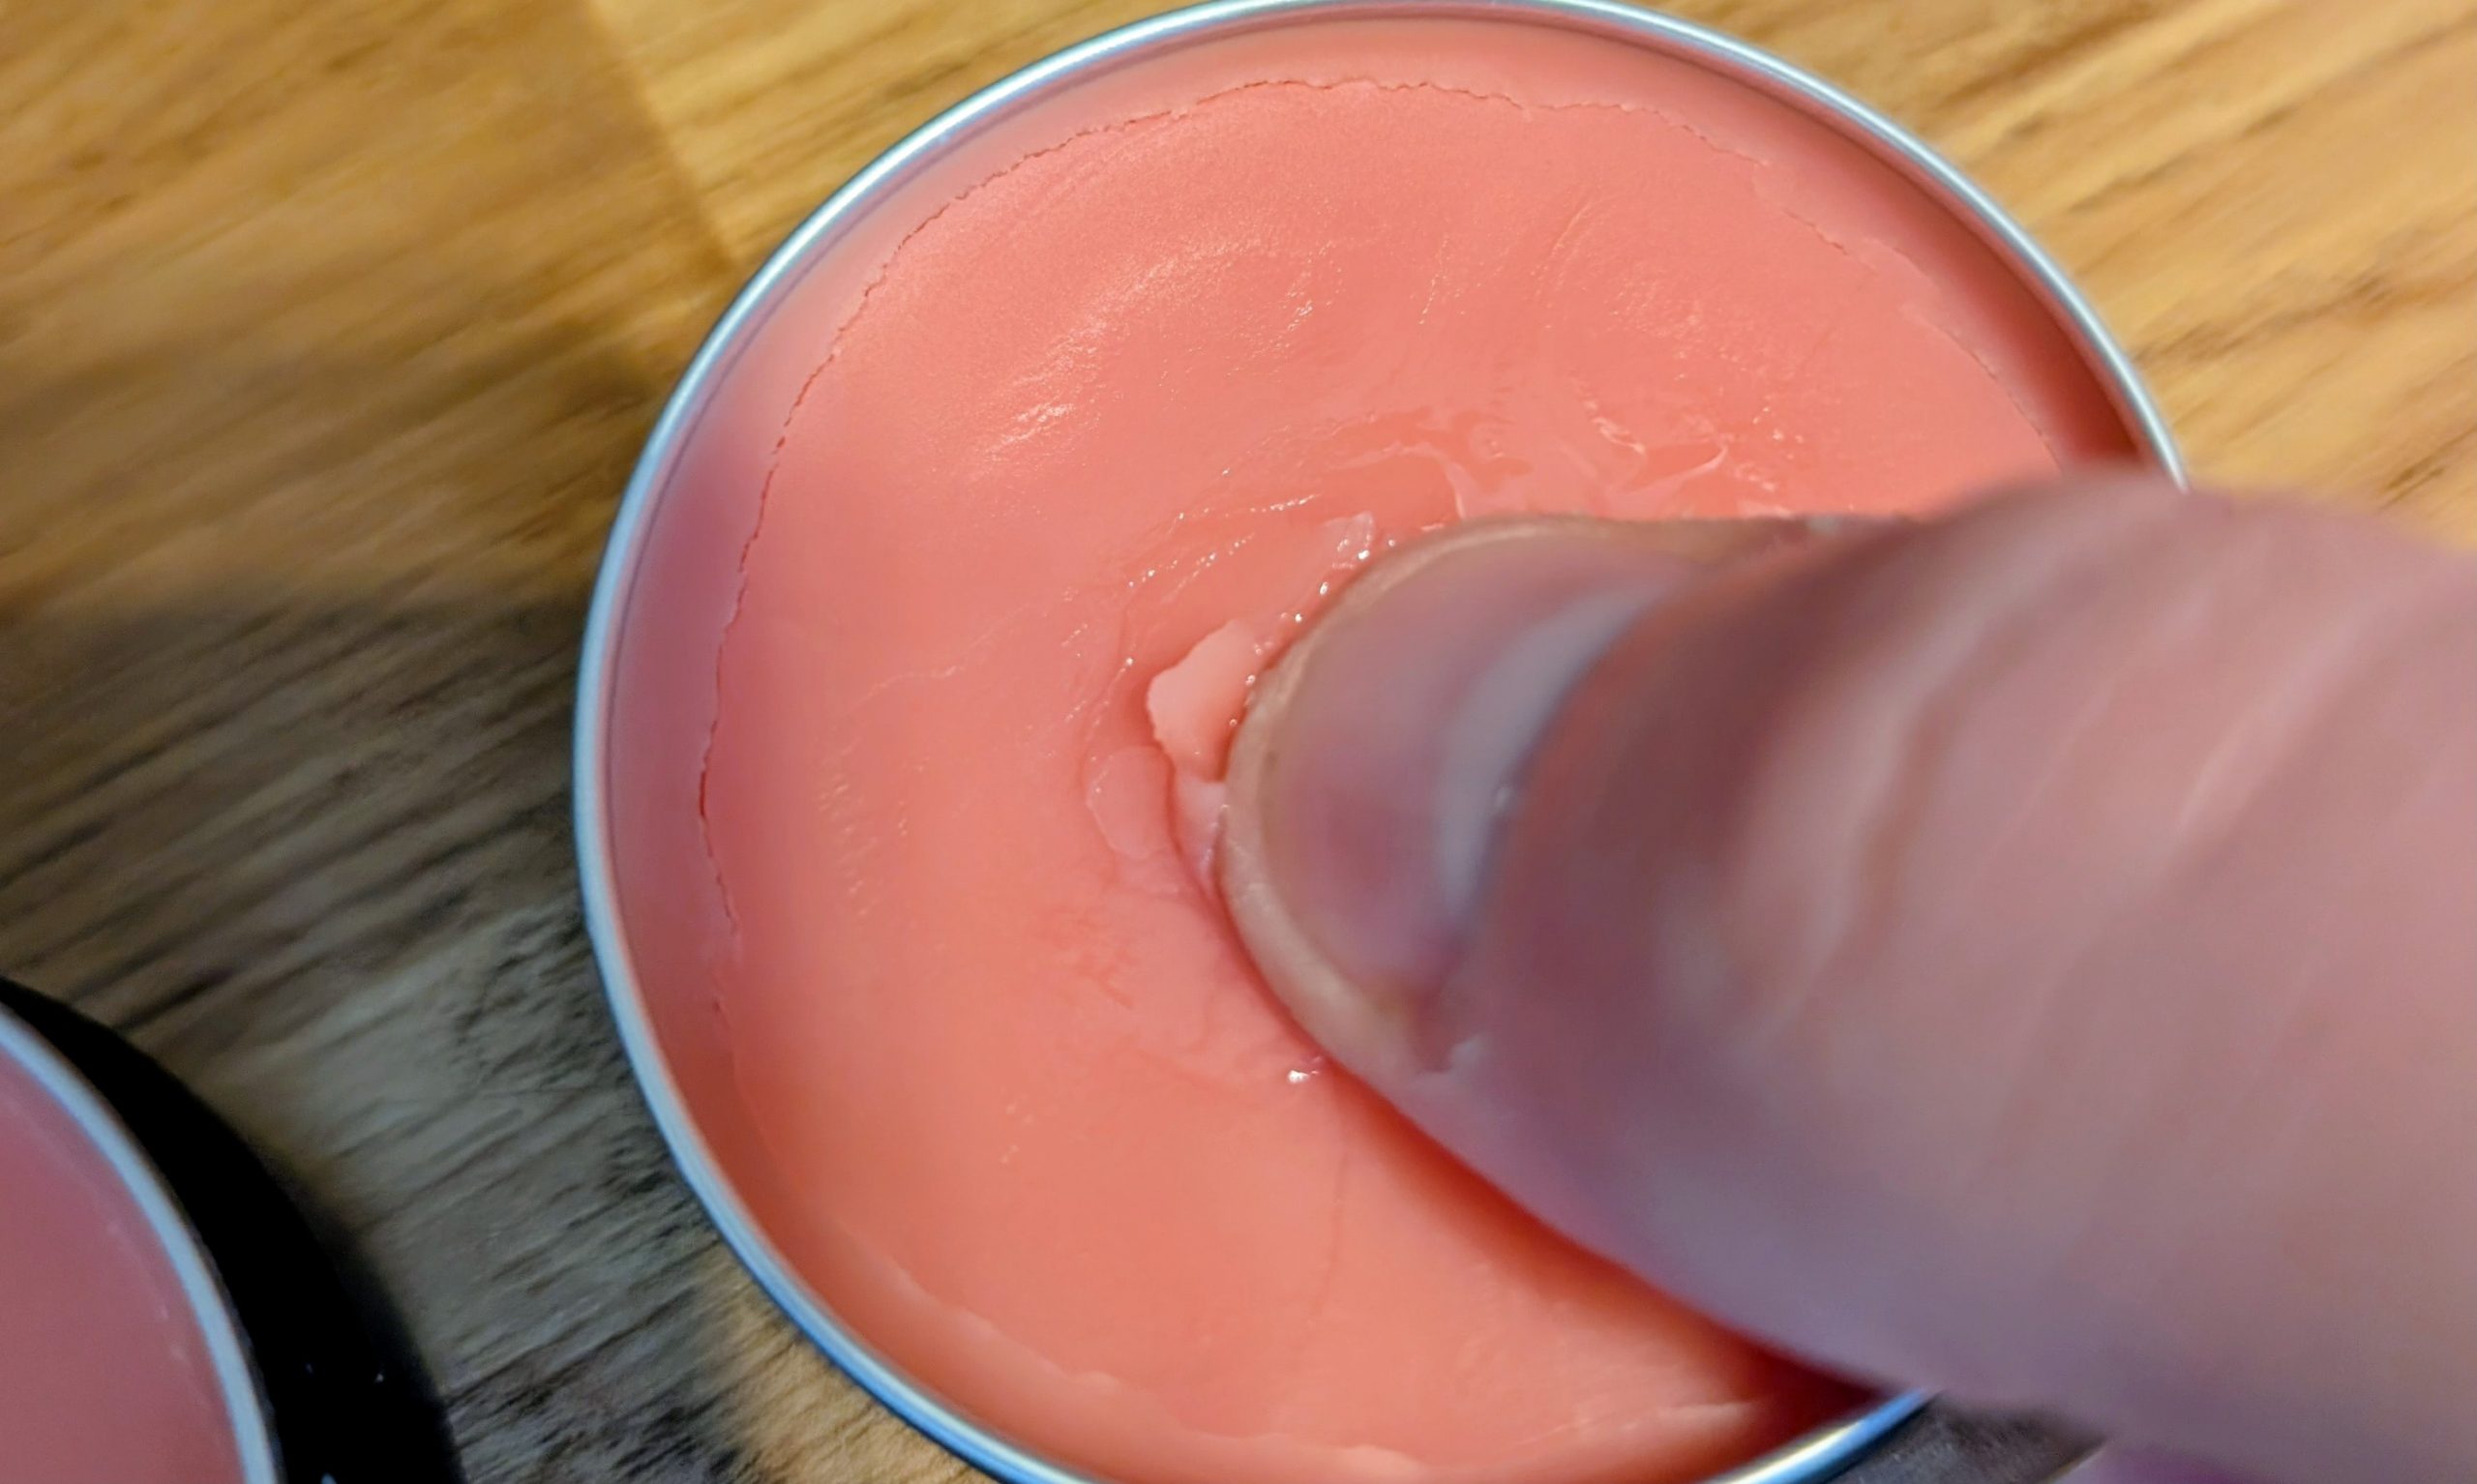
Each tray cavity is clearly labelled, and a photo record has been taken to ensure traceability. The samples are being kept cool overnight and will be tested in the morning.

Sample Tracking Table
To keep track of which solvent was added to each sample and at what level, we assigned lettered IDs to each batch:
| Sample ID | Solvent | Addition Level |
|---|---|---|
| a | Heptane | Low |
| b | Heptane | High |
| c | Cyclopentasiloxane | Low |
| d | Cyclopentasiloxane | High |
| e | D60 | Low |
| f | D60 | High |
| g | D-Limonene | Low |
| h | D-Limonene | High |
| i | D40 | High |
| k | D40 | Low |
| l | Isopar M | Low |
| j | Isopar M | High |
This reference will ensure that performance observations made during the next session can be tied directly to the solvent choices — an essential part of training in experimental design and materials evaluation.
What’s Next
In the next post, we’ll put these twelve samples to the test. We’ll evaluate:
- Drying time to haze
- Ease of buffing
- Spread behaviour
- Any visible or tactile residue differences
This simple but controlled matrix will offer insight into how minor solvent tweaks can lead to noticeable performance differences.